


It’s been a year since I last talked about my development environment. Many things remain the same: I’m using neovim, zsh, and tmux. However, I have made a few changes to improve usability and make my day-to-day work feel faster. I’m using a new terminal application, my vim environment has changed dramatically (at least behind the scenes), and I started using a pretty neat keyboard-based window manager.
This article is a continuation of the previous one. Rather than starting from scratch, I’ll discuss some of the interesting changes I’ve made to my environment over the last year: new tools I’ve started using, and configuration changes that have improved my productivity.
All of the configuration files and scripts discussed in this article are available in my dotfiles repo, so you can always look there for more information. Also, feel free to open issues if you have questions or suggestions!
Terminal upgrade
Last year I was using Apple’s Terminal.app, which is a great terminal client, but it does have a couple of downsides. For one (and the one that got me started looking at other terminals), it doesn’t support true color. I mean, you can set the palette for a theme to any colors you like, but programs are limited to 256 colors. Some of the vim extensions I had picked up really benefited from more color flexibility, so Terminal.app was starting to feel limiting.
The other issues I would occasionally run into were redraw times and keypress latency. Terminal.app is pretty fast, but I would still occasionally see flickering in my full screen tmux sessions. And while a few extra milliseconds of key press latency may not sound like much, it can become noticeable when you spend 90% of your day using text-based applications and interacting with a shell.
Speed has become something of a focus for terminal clients over the last couple of years. Alacritty, which bills itself as “fastest terminal emulator in existence,” uses OpenGL for hardware-accelerated rendering. It was initially released in September 2018, just a couple months before the previous version of this article was published. iTerm2, probably the most popular third-party terminal client for macOS, released its own hardware-accelerated rendering engine, using Apple’s Metal framework, with version 3.2 in August of 2018.
I’ve used both Alacritty and iTerm2, and while both are quite good, I’ve been using kitty for the last few months. It also uses OpenGL for rendering, so even large windows feel very solid. Kitty sits somewhere between Alacritty and iTerm when it comes to features. Alacritty is extremely minimal, with the idea that it should be used with something like tmux to provide more features. iTerm, on the other hand, is very feature-rich, with built in features to handle the kind of window splitting that tmux provides, and menu options for everything. Kitty has a very minimal UI, but it has quite a bit of built in functionality: it has a well-defined remote control API, it supports extensions, windows can be split much like tmux does (although I still prefer tmux), and it provides very fine-grained font control. In my experience, it also feels a bit faster than both iTerm and Alacritty.
One feature I really like is kitty’s remote control protocol. Basically, it lets you control kitty windows from the command line or Python scripts. You can change a window’s layout, set colors, update the title, and even send arbitrary text to a shell. I use it to set the colors for all my terminal windows. This is much more flexible than the method I was using last year with Terminal.app. To update all open Terminal.app windows you have to tell Terminal.app to use a predefined theme, which means that you had to have defined and installed that theme at some point. With iTerm you can use dynamic profiles to do something similar, but there can be a several second lag between a profile update and terminals actually reflecting the change. With kitty, on the other hand, I can send arbitrary new colors to all open kitty windows as string values in a Python script and see instant results.
It also doesn’t hurt that kitty is actually cat-themed. It’s extensions are called “kittens”. How could you not want to use it?

Managing virtual environments
While my shell hasn’t changed (still zsh), I did make some upgrades to how I manage virtual environments, particularly around how they’re indicated by my prompt.
asdf
asdf is a command that attempts to unify all the *env and *vm programs that developers use to manage build tools. Every dev tool seems to have one (or four): Node has nvm, nodenv, nodeenv, n; Ruby has rvm, chruby, uru, rbenv; Python has pyenv; etc. Each of them does the same job, but they usually work just a bit differently.
asdf seeks to standardize these tools. You install a base tool, asdf, and then install plugins to manage specific tools. Plugins are analogous to other environment management tools, but all asdf plugins use options and subcommands.
$ asdf plugin install nodejs
$ asdf nodejs install 10.16.3
$ asdf local nodejs 10.16.3
$ asdf plugin install python
$ asdf python install 3.7.7
$ asdf local python 3.7.7
Running asdf plugin list all will list all available plugins; there are 185 of them at the time of this writing. These include plugins for a number of command-line utilities aside from language interpreters, such as ripgrep and sqlite.
By default, asdf works like most other version managers. You add a script to your shell profile, and then create a .tool-versions file in a project directory that tells asdf what versions of what tools it should activate. When you’re in that directory, or a subdirectory, asdf activates the specified tools. asdf can also work with config files for most other version managers, like nodenv’s .node-version file.
direnv
direnv is a shell extension for various *nix shells (bash, zsh, tcsh, …) that lets you configure your environment on a per-directory basis. For example, when I cd into one of the Node-based projects I’m currently working on (the project root or a subdirectory), direnv will:
- add some cloud testing service API keys to my shell environment
- switch to a local install of Node.js v10
- enable my locally-hosted npm registry (for publishing and installing test versions of packages)
When I leave the directory, direnv restores my shell environment to whatever it was previously.
Direnv works by executing an .envrc file in a bash shell, capturing the output, and then applying that to the current shell. The “executing in a bash shell” part provides a lot of flexibility. For example, in Python projects I’ll often add an .envrc file like:
use tools python@3.7.5
use pyenv
The first line is a custom command (defined in my direnvrc) that tells direnv I want to use Python 3.7.5, via asdf. If asdf doesn’t have a local install of Python 3.7.5 yet, it will get one.
The second line is also a custom command. It tells direnv that I want a local Python environment for the current directory (basically, I want the Node.js + npm experience with Python).
When I start a Python project, I can just drop this two line .envrc file into the project root, wait a few seconds, and my Python environment will be ready to go!
You can install and use direnv by itself, such as with homebrew on a Mac. You can also install it as an asdf plugin, which will provide tighter integration between asdf and direnv.
$ asdf plugin install direnvAs with asdf, direnv hooks into your shell via a command in one of your shell init files (.zshrc). However, you don’t need to add both asdf and direnv to your shell init. You can actually use direnv to manage asdf, which is a bit faster (direnv is a binary, so it’s setup time is a bit faster than asdf’s), and it also saves you from needing to duplicate settings for two different tools.
Powerlevel10k
When I wrote the previous version of this article I was using a modified version of the pure zsh prompt theme. Pure is quite nice, but it’s fairly minimal. As I started using virtual environments more, I wanted my prompt to show more information about my current environment. That was possible with pure, but it required me to maintain a fair bit of code in my prompt setup file.
Then I found Powerlevel10k (p10k). It’s as awesome as its name suggests. This theme is feature rich, allowing me to easily add tags for all the interesting bits of my environment.

The line above the prompt is showing:
- The current git branch
- Whether direnv is active in the current directory (▼)
- Whether I’m using a local npm registry
- The current version of Node.js (if not the system default)
- The current version of the npm package I’m working on
Most of those are built-in features of p10k, and the one that isn’t (npm registry) only required a couple lines of easy-to-read zsh script. The best part is that even with all of those features enabled, the prompt still renders instantly.
Part of that speed is due to p10k’s inherent focus on performance. Another part is due to how I have asdf, direnv and p10k working together. By default, prompts that show tool info tend to call the tool every time a prompt is rendered to get the current version of the tool. For example, a prompt that displayed the Node.js version using nvm would call nvm version every time the prompt was rendered. For one tool that’s not a big deal, but have three or four different things and your prompt can start taking a couple seconds to render.
Rather than use asdf with a .tool-version file, I use direnv to manage asdf through environment variables. The asdf support in p10k can work with asdf’s environment variables as well as version files. My prompt doesn’t have to call a bunch of different version managers whenever it renders — it can just look at environment variables — making it render instantly.
Improving copy and paste
The visual modes in tmux and vim provide a pretty good copy-and-paste experience, but there was definitely some room for improvement. Two issues I kept running into were having to select text halfway up a tmux pane and not being able to easily copy text from a remote session and paste it locally.
Fingers
A few months ago, one of my co-workers pointed me towards a neat tmux plugin that can make copying text to the clipboard much faster, tmux-fingers. Once this plugin is installed, you can activate it with <prefix> F. The plugin will desaturate the display and highlight strings that match its built-in regular expressions: file paths, SHA hashes, IP addresses, and a few other interesting patterns. You can also add custom patterns. Each highlighted string will have one or more hint characters at the start. Typing the hint will copy the string to the clipboard. It’s much faster than enabling copy-mode in tmux, and manually selecting text to copy.
Remote copying
A related issue I improved over the past year was in how data is copied to the clipboard. For a while I’ve been using pbcopy and pbpaste to copy data between the system clipboard and tmux. That’s fine on a Mac, but it doesn’t work on Linux. It also doesn’t work between systems. For example, if I’ve ssh’ed to a tmux session on a remote system, copying text with tmux on that system copies it into that system’s clipboard. That’s not generally what I want to do.
After a bit (well, a lot) of scouring the internet, I learned about OSC 52, a terminal escape code that gives access to the local system clipboard, assuming the terminal supports OSC 52. Luckily for me, kitty does! There are numerous examples of how to use OSC 52 to copy text; I ended up using this one as the basis for my own term_copy script. The script uses escape characters to copy text through the terminal, and also calls pbcopy or xclip to copy to the host clipboard. I use this script with both tmux and vim to copy text to the local clipboard, whether I’m working locally or ssh’ed into a remote system.
This snippet in my vimrc maps <Leader> y to the term_copy script:
function! Yank(text) abort
let escape = system("term_copy", a:text)
if v:shell_error
echoerr escape
else
call writefile([escape], '/dev/tty', 'b')
endif
endfunction

# Selecting text and hitting ;y copies text to the local clipboard
noremap <silent> <Leader>y y:<C-U>call Yank(@0)<CR>
This bit of my .tmux.conf uses term_copy when using tmux’s copy mode and when copying with tmux-fingers:
# The standard 'yank' will copy with OSC 52
bind -T copy-mode-vi 'y' send -X copy-pipe-and-cancel 'term_copy < #{pane_tty}'

# Getting tmux-fingers to use term_copy is easy, too
set -g @fingers-main-action 'term_copy < #{pane_tty}'
This setup means that whether I’m in a local or remote session, in the shell or in vim, I can select text and copy it to my local clipboard, then paste it wherever I need it.
NeoV(SCode)im
Probably the most significant change to my environment over the last year has been my move to coc.nvim and its ecosystem of extensions. The goal of coc is to bring the power of VS Code to (Neo)Vim, which it does primarily by porting VS Code extensions. Coc is mostly written in JavaScript and runs in Node.js, so coc extensions actually can be ports of VS Code extensions rather than total rewrites. That also means extensions are fast, generally much quicker than pure vim script equivalents.
Coc really shines when it comes to integrating language servers, which are servers implementing the Language Server Protocol, like TypeScript’s tsserver or Microsoft’s Python Language Server. These give coc a number of language-specific features like auto-completion, hover documentation, the ability to list and jump to references and definitions, error detection, auto-imports, and more.
Coc is more than just language servers, though. There are a number of standalone LSP plugins for vim, as well as a new native LSP implementation in neovim. However, LSP plugins don’t provide supporting features like autocompletion popups, nor do they support external tools like Prettier. Coc provides an ecosystem of tools that all work well together, and that you don’t have to manage individually. Install coc, use :CocInstall to install plugins, and coc will manage things from there.
I’ve replaced many of my IDE-centric plugins with coc equivalents: YouCompleteMe and ALE with coc itself, typescript-tslint-plugin with coc-eslint, NERDtree with coc-explorer, and vim-prettier with coc-prettier. I’ve considered using coc’s built in :CocList command instead of fzf.vim, but I haven’t made the switch yet; it’s good, but it’s not quite as fast as fzf.
Bonus: keyboard-controlled windows
Third party window managers are a tool that several of my co-workers use that I hadn’t spent much time with until fairly recently. I had mostly been running apps in full screen mode, but there were enough quirks to doing that (particularly with multiple displays) and limitations (you can only split a display once in macOS), that I decided to try something new.
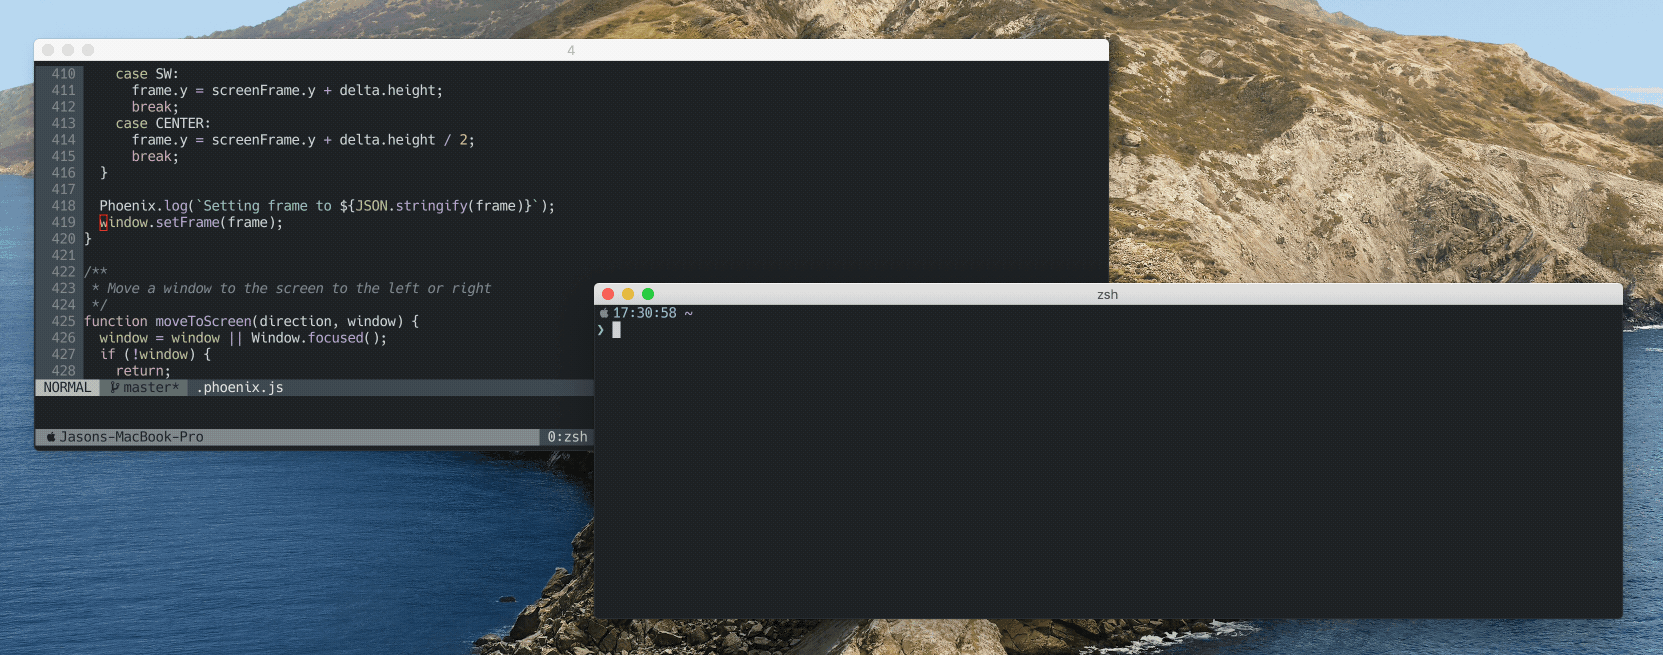
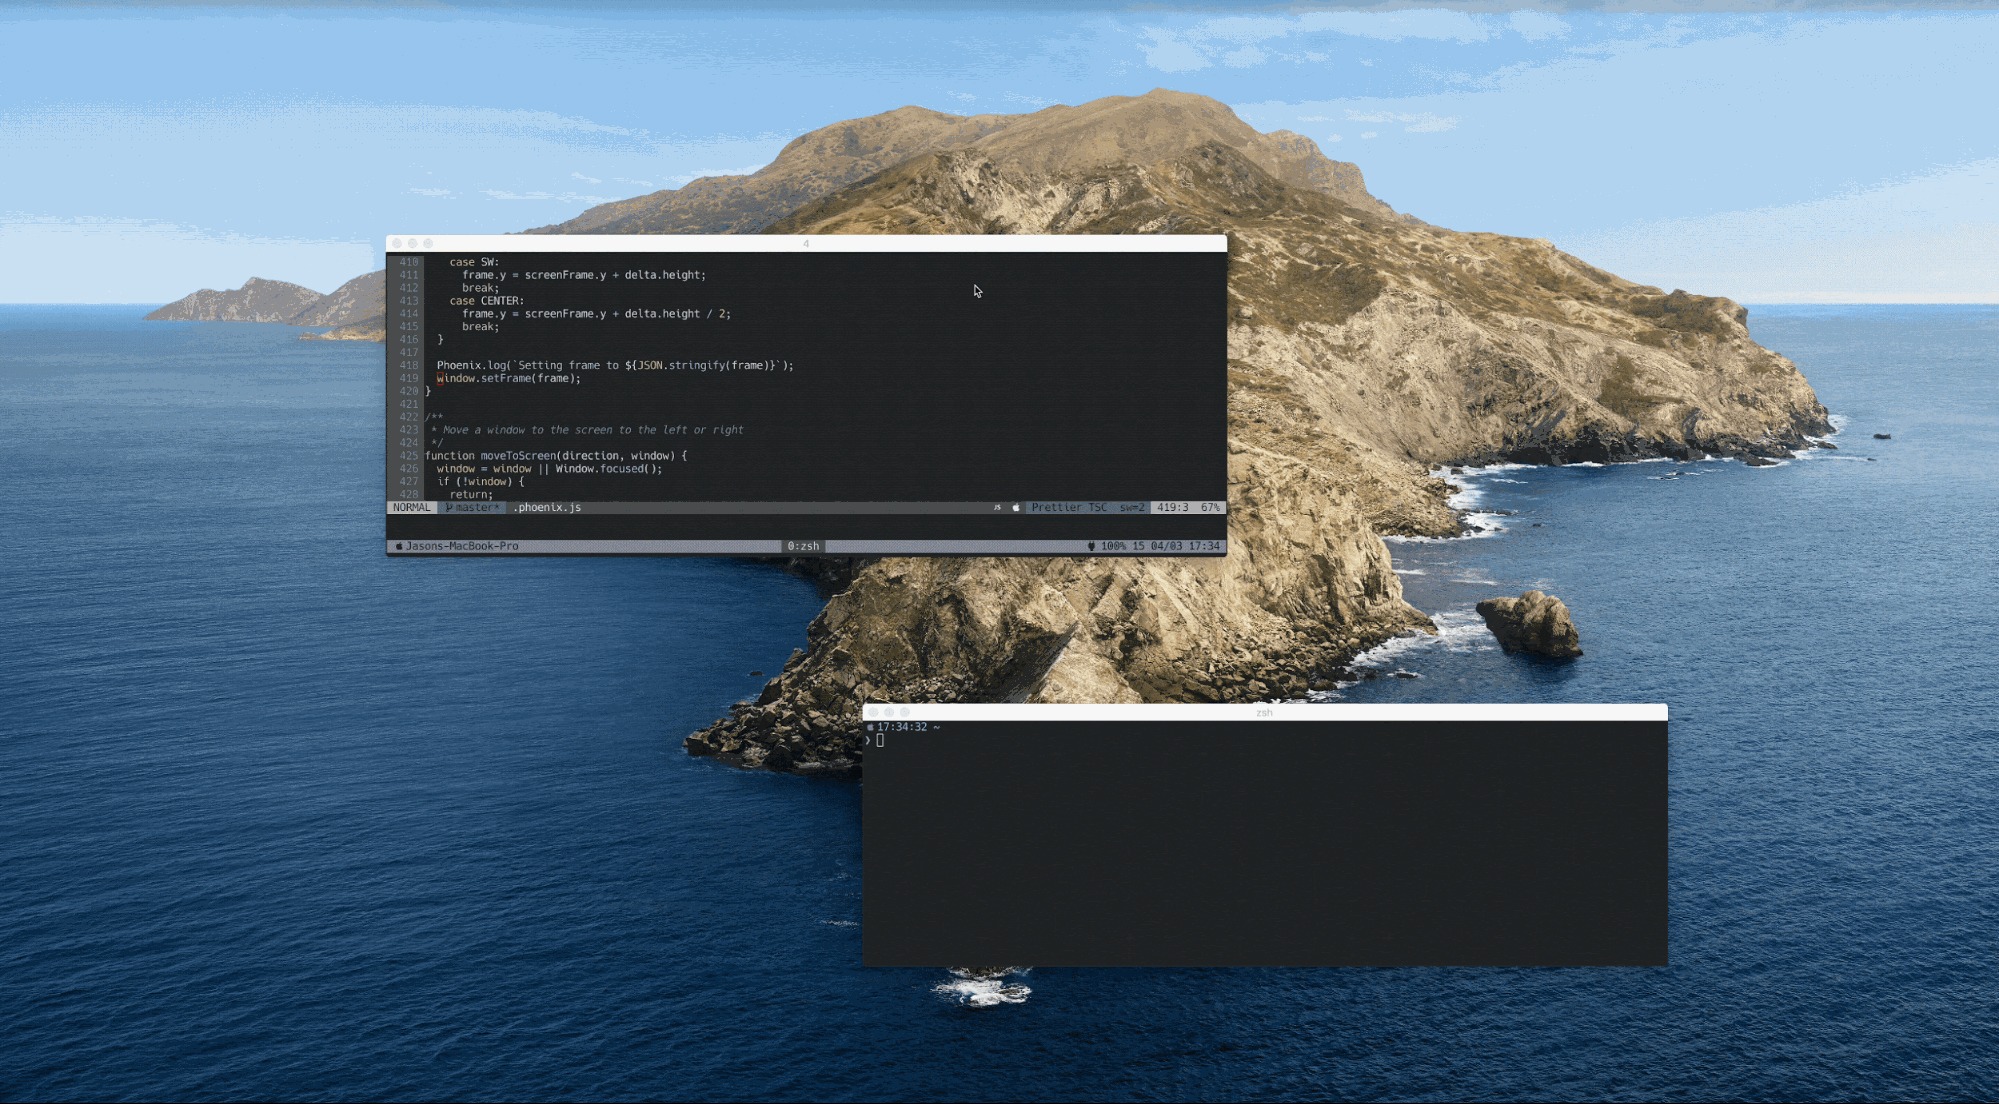
I looked at a few different apps: moom, Spectacle, Rectangle, and Phoenix. I ended up with Phoenix, an open source window manager that’s scriptable with JavaScript. Really, it’s just a way to let you control windows with JavaScript; there’s no default behavior. This makes setting up Phoenix a bit more work than the others, but it’s infinitely flexible.
Phoenix provides a straightforward API that lets you register global key listeners, get information about open windows, and move them around. For example, the following snippet would setup ctrl+shift+h to make a window fill the left half of the display and ctrl+shift+l to make it fill the right half:
Key.on('h', ['ctrl', 'shift'], () => fill('left'))
Key.on('l', ['ctrl', 'shift'], () => fill('right'))

function fill(area) {
const window = Window.focused();
const screenFrame = window.screen().flippedVisibleFrame();
const frame = {
...screenFrame,
width: screenFrame.width / 2
};
if (area === 'right') {
frame.x += frame.width;
}
window.setFrame(frame);
}
The config script is stored in ~/.phoenix.js. My phoenix config isn’t terribly complex (at least not compared to some of the examples). Mostly I just use it to move and resize windows to fit into a few predefined regions, and to move windows around between Spaces and desktops, but there are many more possibilities! For example, you can allow windows to be freely resized, or activate pre-defined desktop layouts with a single keypress.
It’s not directly related to a terminal environment, but if you have to deal with external windows, at least you can use a keyboard!
Conclusion
This article has presented some highlights of my current terminal-based development environment. Check out the previous version for more details about the complete setup.
Do you have any terminal-based utilities, vim plugins, or usage patterns that make you productive? Consider sharing them! GitHub contains thousands of dotfiles repos (the standard term for user config files) showing what other people have come up with to make their own lives easier. Also, feel free to post suggestions or questions about my setup to my dotfiles repo.
Our team at SitePen is constantly looking for ways to improve our efficiency and productivity. If your organization needs help creating your next application or improving your current solutions, consider engaging with the SitePen team, where a few milliseconds of keypress latency is something to improve rather than accept. Contact us to learn how we can help!