


What is React Native
React Native is a JavaScript framework for writing hybrid native mobile applications for both iOS and Android platforms. React Native uses the same JSX and React development approach you would take for developing for the browser, but applications get built as native applications in Objective-C (for iOS) or Java (for Android) by the React Native tooling.
The key difference between React Native and other JS mobile frameworks such as Ionic or Cordova is that the result is a hybrid native application rather than a hybrid web application utilizing web views. React Native does still use a JS engine to execute your application code, but compiles your views into native code and uses a bridge to communicate between threads. As such, it will look and feel like any other native application and benefit from both great performance and access to device APIs.
Why would you use React Native
React Native allows you to target both iOS and Android platforms with cross-platform code utilizing the technologies and patterns your web development team is likely familiar with already. Creating a screen is as simple as writing a react component that accepts props and uses react-native specific tags such as <Text> and <View>. Developers can use packages such as Redux to store application state and CSS Flexbox to layout content.
React Native uses native UI elements to enable delivering a native user experience, something that hybrid web frameworks struggle to achieve. This is particularly evident with animations and form inputs.
React Native boasts a great developer experience with very little setup; features such as hot reloading, element inspection, debugging tools, and useful error messages are all provided. Because React Native applications are authored in JavaScript (or variants like TypeScript or Flow), developers are able to make a change in their IDE whilst running their application on a mobile device or simulator and see the application update and refresh in real-time without the entire application needing to get rebuilt and deployed.
Because React Native allows a vast amount of code sharing between web, iOS, and Android platforms the amount of code and resources required to develop cross-platform should decrease. More importantly, you will not necessarily need specific mobile application developers as your developers will be able to work on all target devices with the same familiar web technologies.
Getting started with React Native
Using expo
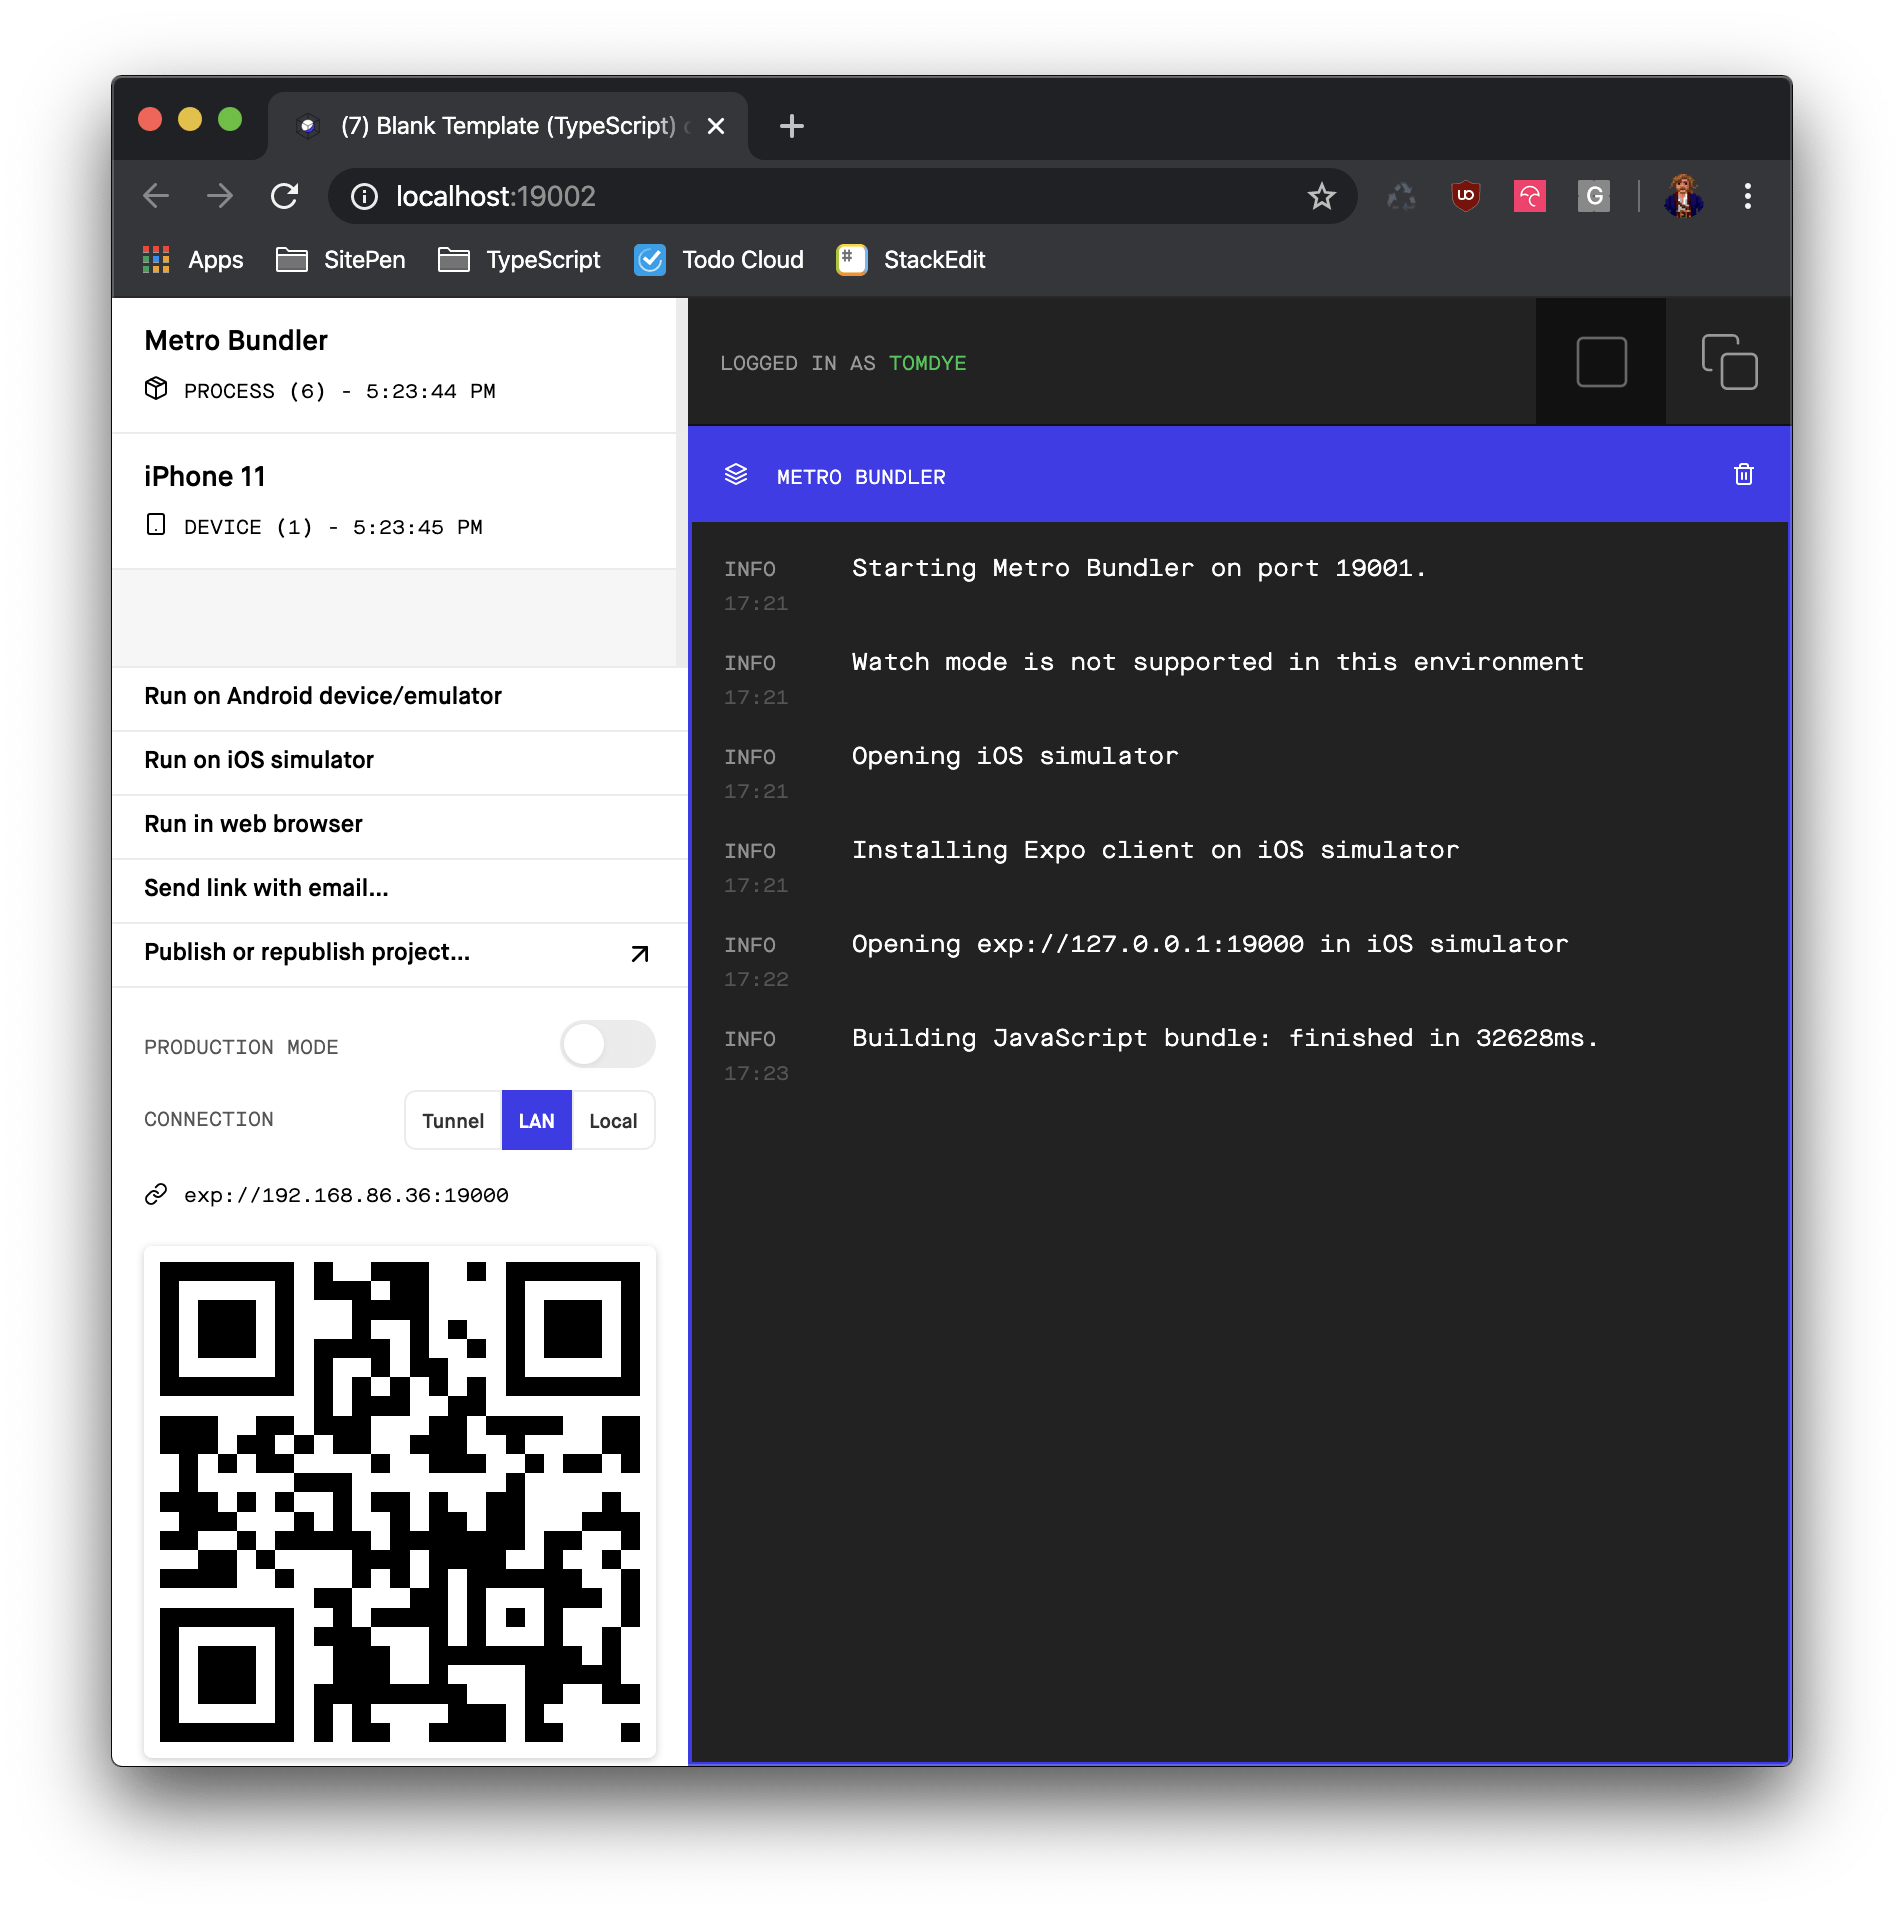
The quickest and easiest way to get started with React Native is via the expo cli. Expo is a toolchain built around React Native allowing you to get started quickly without needing to set up Xcode or Android studio. allows you to get up and running in minutes and provides access to a large number of device APIs and useful packages to build an application. To do so, simply run:
npm install -g expo-cli
expo init my-expo-app
# make project choices
cd my-expo-app && npm start
This will install the Expo cli, initialize a project and start the development server. All you need to do now is make changes in your favorite IDE and see them reflected on your simulator or mobile device. The main drawback of using expo is that you are not able to use any custom native modules which are not provided by the expo client app.
Using react-native cli
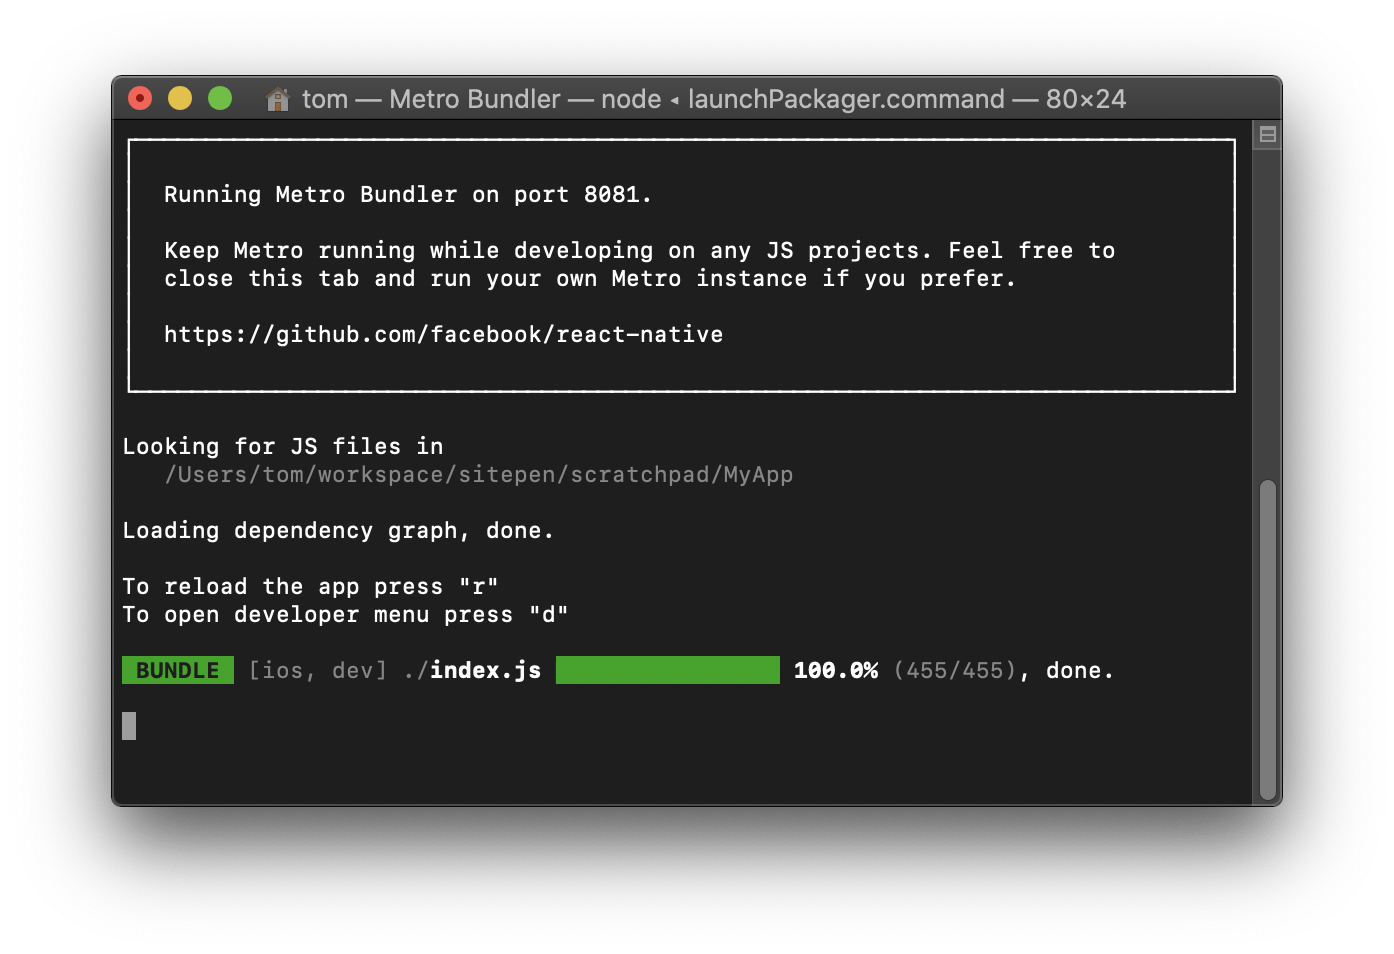
Assuming you already have Xcode and/or Android studio installed, you can create an initial React Native application by running:
npx react-native init my-cli-app
cd my-cli-app && npx react-native run-iOS
If you do not already have cocoa pods and watchman installed you get prompted to do so. Once you’re up and running, you should have a similar setup as with the expo approach though you will be able to open up the Xcode project in order to work with custom native modules and to build and release your application.
Using TypeScript with React Native
But what about TypeScript? You may have noticed during your setup with the expo cli that there’s an option provided for TypeScript in the initialization wizard. Simply select TypeScript and you get a TypeScript React Native project set up and ready to go.
If you are using the react-native cli then there is a specific TypeScript template that you can use to get up and running:
npx react-native init my-ts-app --template react-native-template-typescriptThis command creates a fully working React Native TypeScript starter app. Using either of the above approaches you will be able to develop your TypeScript application as you would with JavaScript and benefit from the same developer experience but with added TypeScript support instead of Flow.
Building and releasing your app
If you have used Expo to build your application, then you are able to use the expo build tool to build and package both your iOS/iPadOS and Android apps. This is pretty straightforward and uses a cloud-based build platform to create your application binaries. You can then upload these binaries to the appropriate app stores or send links to your testers for testing via TestFlight, etc.
If you have used the React Native cli or ejected from expo then you will need to use Xcode and Android studio to perform your application builds before uploading them to their respective app stores.
Performing the release itself, as with any native app, can get rather tedious as you will need to create screenshots, perform code signing, and more. Luckily you can use fastlane to automate most of this process. Fastlane allows you to set up specific rules for beta or app store releases and automates testing, screenshot generation, code signing and even uploading your app to the app store for review.
But what about updates? Good news here if you’re using expo as you can choose to accept over the air (OTA) JavaScript updates to your deployed applications without going through the entire app store review process for each update. This is a great solution for pushing small bug fixes and performance enhancements to users within a small development window. This is especially effective during a testing phase where you wish to quickly respond to feedback.
If you’re not using expo then OTA updates are still available via a service such as Microsoft App-Center codepush, but this requires additional setup and configuration.
When You Shouldn’t Use React Native
React native is a great solution if you’re looking to get into native mobile development and wish to utilize your team’s existing React and web development skills. The limits of this approach will largely depend on your needs; if you want to use advanced device hardware interaction you may find that there is not a suitable package or API available to achieve this and thus you will have to write a custom native module to use with your app. With that in mind, you may still need to write some Objective-C and Java code to achieve your goals.
React Native significantly reduces the amount of code you need to write to serve iOS/iPadOS and Android apps but in some cases, you may find you need to write specific code for either environment due to differences in native components. For example, when creating a select / picker, the appearance will differ between iOS/iPadOS and Android as the former renders a scrolling wheel whilst the latter generates a drop-down menu. These kinds of differences will require custom logic to render and behave correctly based on your needs and will draw on the knowledge and skill of your development team.
Next Steps
Now that you’ve gotten started, you’ll want to continue building out your application with architectural features such as a data store, routing, and a component library.
react-navigation provides a routing solution for React Native applications allowing you to create several different app layouts and navigation paradigms including headers, tabs and stack containers. This is a great way to build out your app screens and views in a consistent way that will grow with your application.
For a data store, if you are already familiar with Redux you may consider redux-persist for your React Native application. This works well as the backing store for your app as well as adding the capability to serialize parts of your store to storage on the end-user device. This allows your application to save authentication tokens and favorites to the device once the app is closed so that the user can resume where they finished when they reopen an app.
React-native-elements provides a collection of UI components to use in React Native applications to achieve consistent appearance and functionality across both iOS/iPadOS and Android. These include components such as cards, inputs, lists, avatars, and badges. Using a package such as this will help iron out the differences between your target platforms and enable your team to build your app in the shortest possible time.
If you need help architecting or building your next mobile app, please contact us to discuss how we can help!